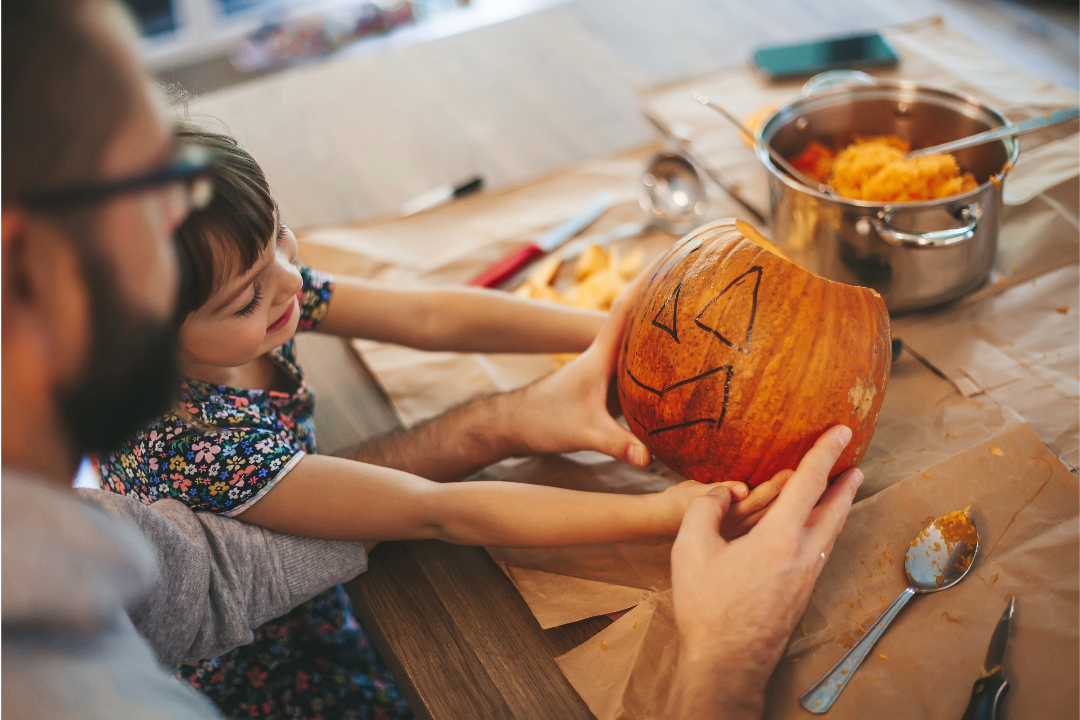
Carving a Spooktacular Pumpkin for Halloween: A Step-By-Step Guide

Halloween simply wouldn’t be the same without the classic Jack-o’-lantern grinning on your doorstep. Carving a pumpkin is a tradition that brings out the creativity in all of us. In this step-by-step guide, we’ll walk you through the process of creating a spooktacular pumpkin that will be the envy of your neighborhood!

Materials You’ll Need:
Pumpkin: Choose a ripe, unblemished pumpkin from a local farmer’s market or pumpkin patch.
Pumpkin carving kit: These kits typically include carving tools, scoops, and stencils.
Newspaper or garbage bags: To protect your work area from pumpkin guts and mess.
Marker or pen: For sketching your design onto the pumpkin.
Tea light or LED candle: To illuminate your finished creation.
Step 1: Select the Perfect Pumpkin Find a pumpkin that’s the right size for your design. It should be firm, with a flat base to prevent wobbling, and a sturdy stem. Make sure it’s free of any bruises or soft spots.
Step 2: Prepare Your Workspace Lay down newspaper or garbage bags to protect your work surface. Pumpkin carving can get messy, so this step is crucial for easy cleanup.
Step 3: Draw Your Design Use a marker or pen to draw your design onto the pumpkin’s surface. You can go for a classic Jack-o’-lantern face, a spooky scene, or get as creative as you like.
Step 4: Carve the Lid Carve a circular lid around the pumpkin’s stem. Angle your cuts inward so the lid won’t fall inside the pumpkin when placed back on top. Remember to leave a small stem to act as a handle.
Step 5: Scoop Out the Guts Use the scoop from your carving kit to remove the seeds and stringy bits from the inside of the pumpkin. This will make carving easier and ensure your candle can shine through.
Step 6: Carve Your Design Carefully follow your design, using the tools provided in your carving kit. For intricate designs, you might need to use a combination of thin and wide blades. Take your time and work slowly to avoid accidents.
Step 7: Light Your Pumpkin Place a tea light or LED candle inside your pumpkin and carefully replace the lid. Light the candle and watch your pumpkin come to life with a warm, spooky glow.
Step 8: Display Your Creation Now, find the perfect spot for your masterpiece. On the doorstep, in a window, or as part of a spooky Halloween display, your pumpkin is sure to impress.
Carving a pumpkin for Halloween is a delightful tradition that allows your creativity to shine. With the right tools and a bit of patience, you can create a Jack-o’-lantern that’s sure to impress your family, friends, and trick-or-treaters. So, this Halloween, get ready to carve, light, and enjoy the eerie beauty of your spooktacular pumpkin!
Style
Elopements
Couples
Weddings
READ MORE ABOUT EVERLY

Hey I'm Everly, gentrify four loko cloud bread kitsch shabby chic, activated charcoal palo santo selvage. Gorpcore banjo next level plaid skateboard iPhone, godard blog cardigan knausgaard air plant fit cliche enamel pin.
photographing weddings, engagements and elopements in the baltimore, washington area and beyond
I capture evidence of the love that exists in people's lives through beautiful imagery
So glad you stopped by

Find out Everly's best kept secrets on how to make your wedding day stress-free, so you can enjoy every moment!
DOWNLOAD THE GUIDE
